I recently had Community Fibre FTTP broadband installed, and found that I couldn’t see much information online about the equipment and process – so here’s what I now know.
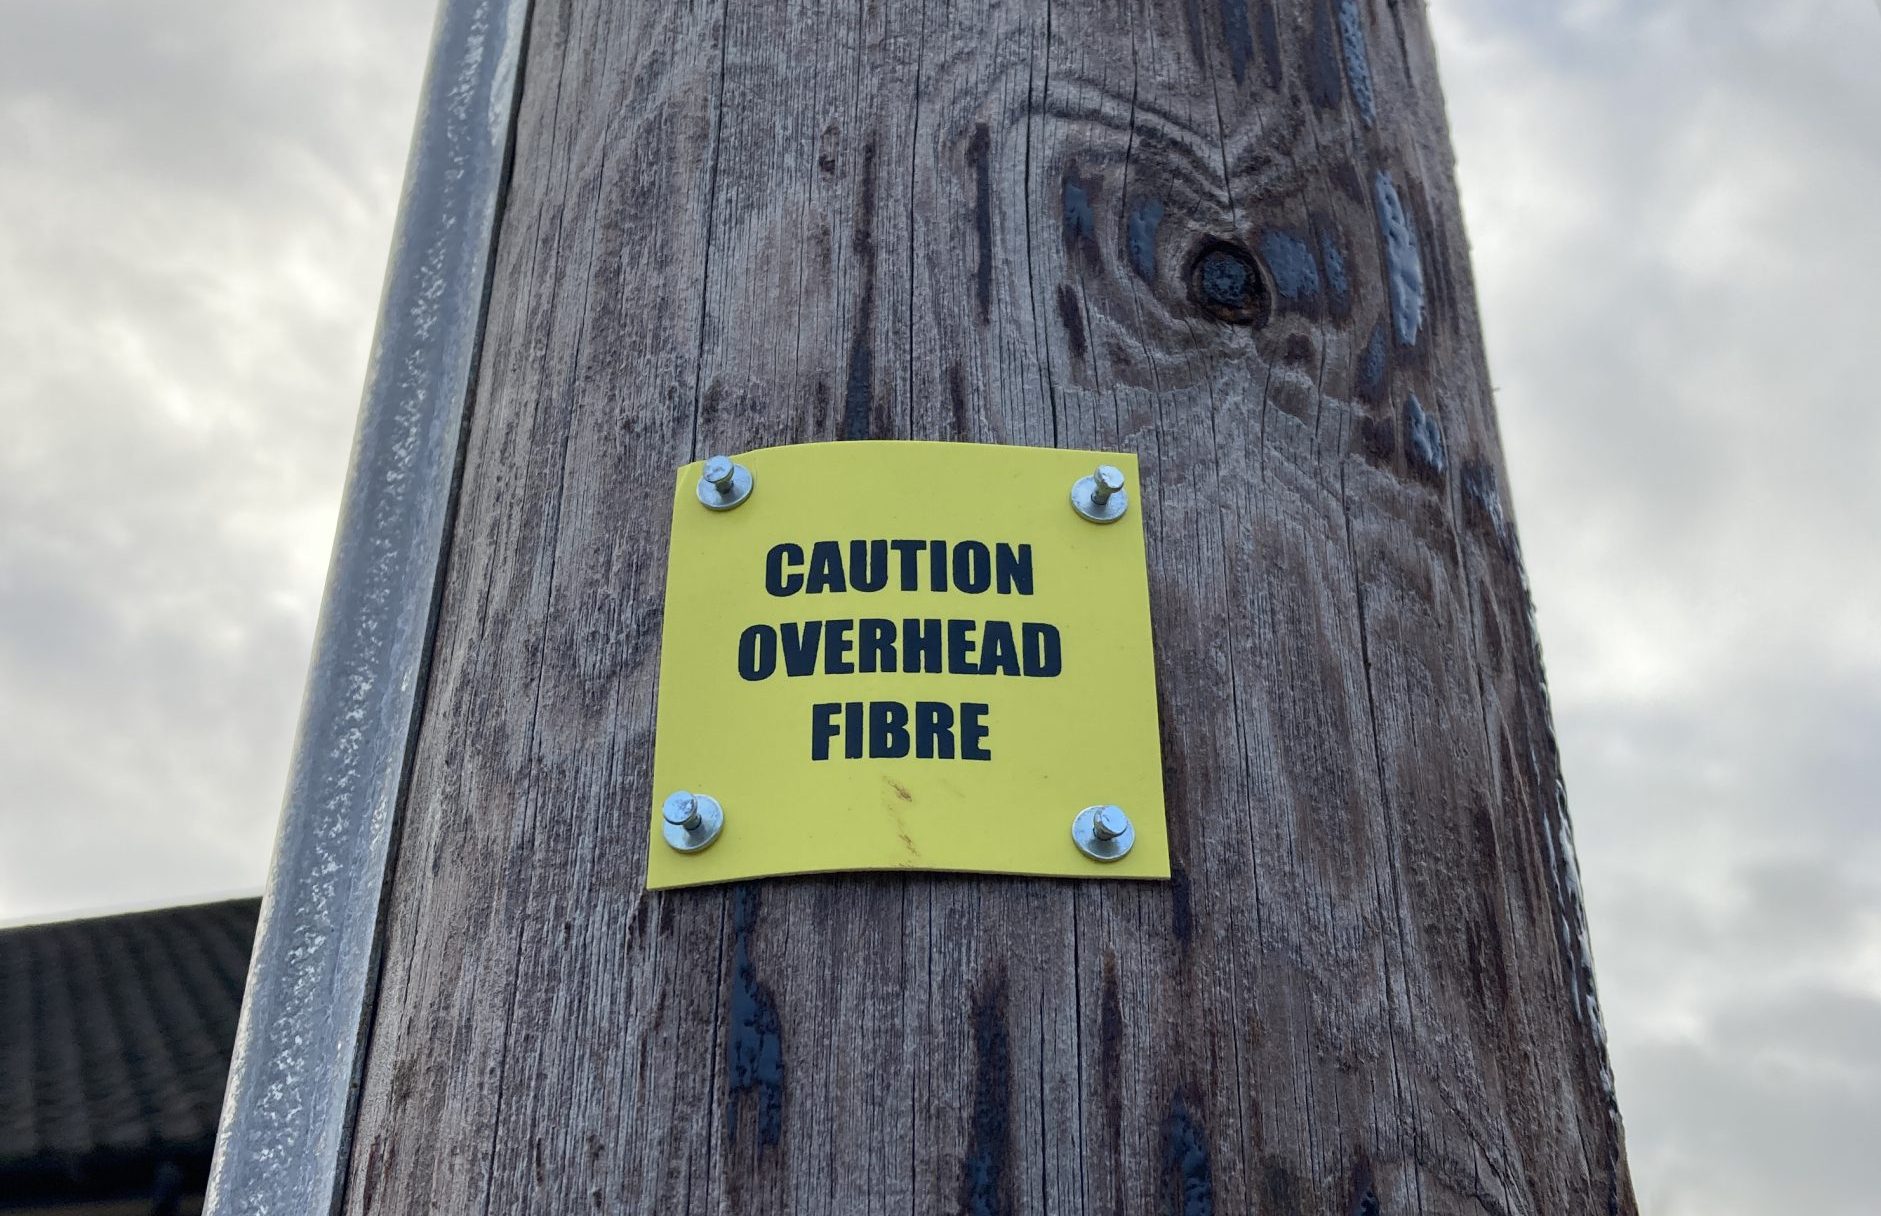
The fibres are run underground down the street, but then up to the top of telephone poles. You can see the new equipment – grey junction boxes and bundles of cable – and also the notice above. If there’s a “Caution Overhead Fibre” sign, chances are you can get access.

The installation took around 90 minutes (with one engineer – they said two-person teams were the norm). First a small hole is drilled through the wall, and a kind of solid fibre duct (shown above, not yet properly installed) fitted. On the outside of the house, a line of fibre is run from the telephone pole, down the wall and into that duct.

That duct is covered by this small wall-box. Note the internal, white-sleeved fibre-optic cable plugged in below – that then runs to the modem:

The modem is – in my case, at least – an AdTran SDX 621i XGS-PON ONT. It requires a PSU, and has sockets for the fibre-optic cable and Gigabit Ethernet. A short network cable then runs from that to:

.. the router. This is a Linksys WHW0301CF-UK. It has two Gigabit Ethernet ports underneath – one in, one spare. Out of the box it provides a single WiFI network and DHCP in the 192.168.1.x range. You can access the admin interface to change the WiFI and network settings using a password printed underneath, and I confirmed that the second Gigabit port is live, so you can connect up a switch.
So far, everything has worked as it should, and the symmetric 900Mbps connection is indeed very fast – but of course I have no way to know about reliability at this stage. I will update here if I find any issues.
If you found this useful and decide to sign up, this referral link may get you – and me – a £100 Amazon voucher.